BEIL0014_ Assignment 2_The 1:1 Fuel Tank
Stage 1: Prepare the Digital File of the Tank for Laser Cut.
| Equipment:
|
|
| Aluminum
Sheet |
English
Wheel |
| Guillotine |
Tinsnips |
| Wood
Jigs |
Metal
Clamps |
| Round
Nylon Headed Mallet |
MDF |
| Drill |
Flat Nylon
Headed Mallet
|
Metal Scribe
|
masking
Tape |
| Grooving
Tool |
Shrinker
Stretcher |
| Bead
Roller |
Sandbag |
I was so into Autodesk ReCap,
but my group mates prefer the tank offered online, so we used Rhino and Sketchup
made the digital tank. (Fortunately, I found out that digital lab has bought
the new 3D scanning machine which I’ve seen on YouTube and recommended by some
famous youtubers. Hopefully, I can spend some time play with it when I have
time.)


We had some problems when we import stl. file into slicer. After 1 hour struggling, we finally began to ‘slice’ our model. Slicer is actually a smart software, it can generate the skeleton of the finished model and generate layout of the laser cut file automatically. There are several things we need pay attention to:
1.
Test sheets in class to make sure leave enough error space for each slot
size. Martin recommend 0.8mm error. But I insist 0.3mm… and our slices fits
perfectly;) I think 0.2-0.4mm is the best~
2.
An efficient
number of slice saves time in laser cutting and save the environment. Our
group choose 13x15 slices. The final model is stable especially after we apply
glue and tape on the model.
3.
Manually arrange
the layout of
the automatic generated layout file. The software only able to place section
slice horizontally! But manually place some of the slice vertically can save
many space and materials.
4.
Choose the ideal
structure. Choose
the right lice direction and shape, provide the most stable and environmental-friendly
structure.
Then we were ready
to laser cut.
The new Trotec
machine has already code with correct power and distance for different material,
which are very user friendly. All we need to do is:
1.
Edit layout file with InDesign.
2.
Ensure file is in RGB mode
3.
Ungroup all objects and remove all masks (very
important, we wasted half piece material because we forgot to remove a line in
a mask, and this line cut 2 pieces of the slice into half in the end! Hopeless…)
4.
Assign to objects the right appropriate color.
5.
Change the line weight of all the strokes
into 0.001


Tips: the file
generated by Slicer has many numbers to help you assemble. 95.34% of them can
be delated and this will save you heaps of time! (e.g. below each slot there is
1,2,3,4,5,6…14,15. Only keep 1 and 15.)
Then the
preparation of the file is finished. The file is ready to laser cut.
Stage 2: Laser Cut and Assembling
Only use the
machine when you finish the digital fab foundation course!
Stay in the
digital fab as short time as you can! The air quality is awful. (But I kinda
addicted to the smell;))))))))


Apply tape around the model… which my group did not do at the
first, because we didn’t get the point… and we still don’t get the point in the
end. I guess our model is already stable with glue and have enough slices, so there’s
no need for the tape? :)


Stage 3: Prepare the Metal Sheet
1.
Divide the tank into three parts.
I got left side part. But in the end, we smash and roll and cut and sand any
place we don’t satisfied. Group work!


2.
Measure the size of the metal we
need by using a piece of A3 paper.
3.
Cut the piece of metal we need.
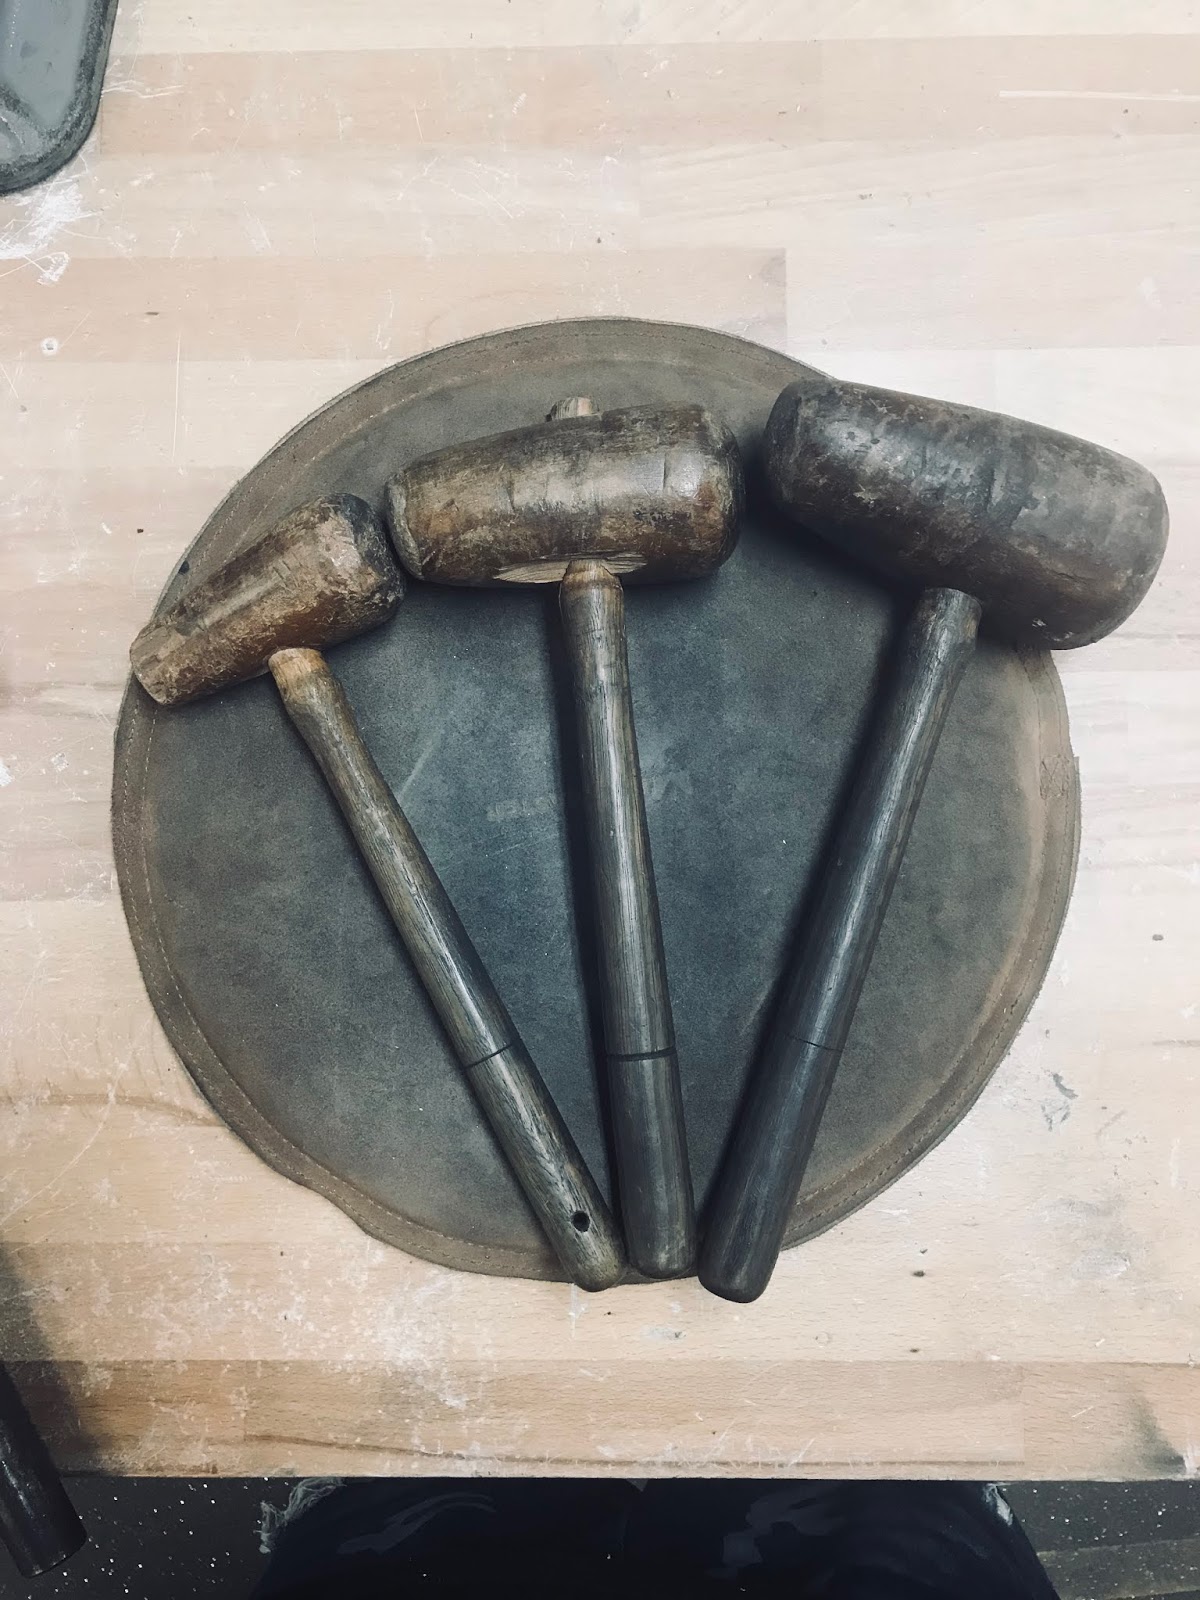
Stage 4: Bang-Bang-Bang! (I believe everybody has similar steps, if I write all of them it will be a nightmare to read. I will just choose some the part that might be different from others to document on the blog.)
1.
I found 3 pieces of wood in the
rubbish bin in workshop, and lock them on the table by two metal clamps to make
a little slit between the wood and workshop bench. The horizontal wood is
sanded and has a round edge to avoid marks. Then I slide my metal sheet into
the slit and bend it. I can use the rolling tool in the work shop but I want to
avoid unified radius, because the radius of the tank is keep changing on
different spot.


2.
I chose the shrink tool in the
work shop to shrink the small radius edge, but it turned out is a bad idea…
because the metal we are using is too thin and the tool obvious designed for
thicker metal. The part be shrunk by the tool tend to crack and fold in later
process. But this tool definite can help to create small radius curve
efficiently.
3.
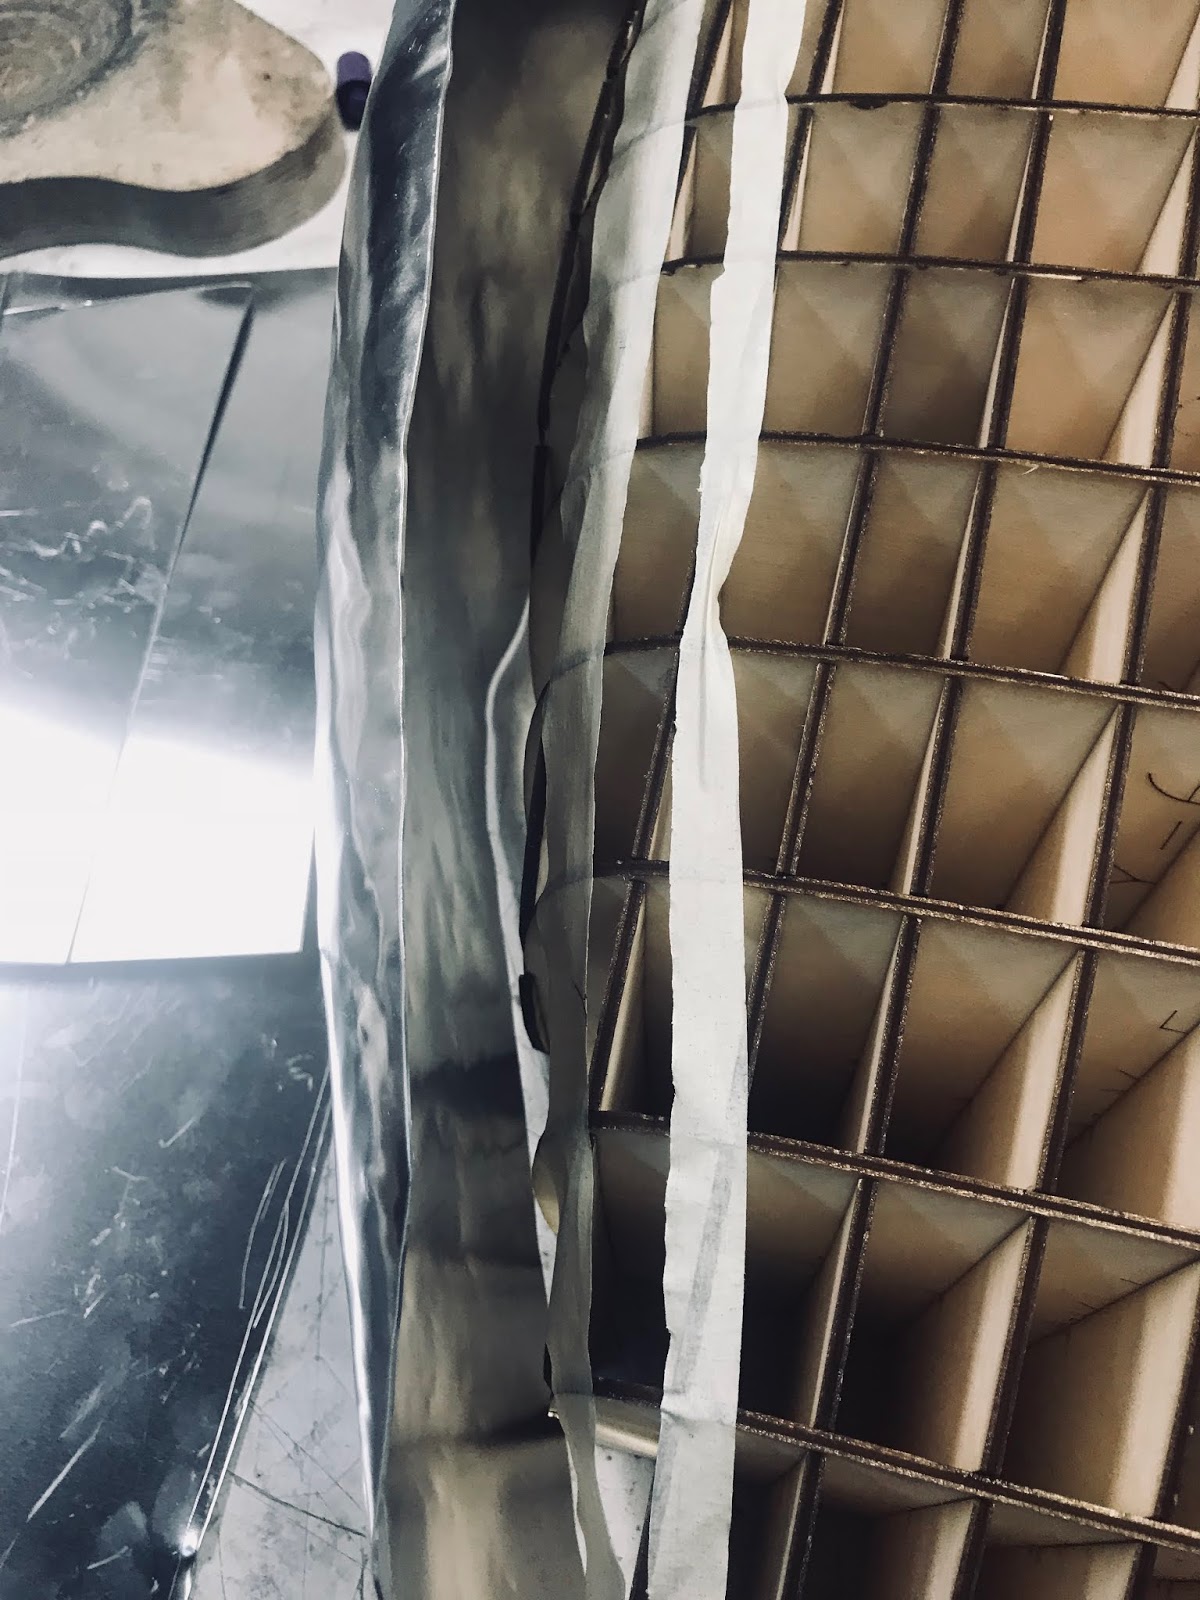
I used the new tool and create
grooves on two side pieces. Our idea was, making grooves on two side pieces and
place the lid I the groove. Too young too naive! If we have that good skill we might
have our own handmade motorbike shop already! The grooves are perfect and the
lid is good, but they cannot fit together perfectly, which is annoying… I believe
if we are allowed to weld these three pieces together we can definitely create
a better shape.


 |
| The tool leaves marks on the metal. Hopefully, lab can provide some rolling wheels with smaller width. |


4.
The most annoying part of shape
large piece of metal is that, after you bend metal in one direction, the
perpendicular direction will be flat… and I just keep repeating this “flat-bended-flat-bended-flat…process
day by day… but later I found out that, if we press all the direction, only
leave a small portion of the metal without pressure, and just smashing this
part, the shaping process will be efficient. Thank god, I have some good
teammates, they hold the metal for me by their body with all kinds of strange body
gestures, under the rick of smashed by hammer:) and I did the same thing for
them as well.


5.
Every guide line is draw by masking tape,
we almost didn’t use pen, masking tape provides smoother line thus better
accuracy.


6.
Always hammer and cut less than
you think, less is good. If go to much you screwed up. All about patience.
7.
Find a good-looking base, and
display your model on it.
Finally! Take Photos:


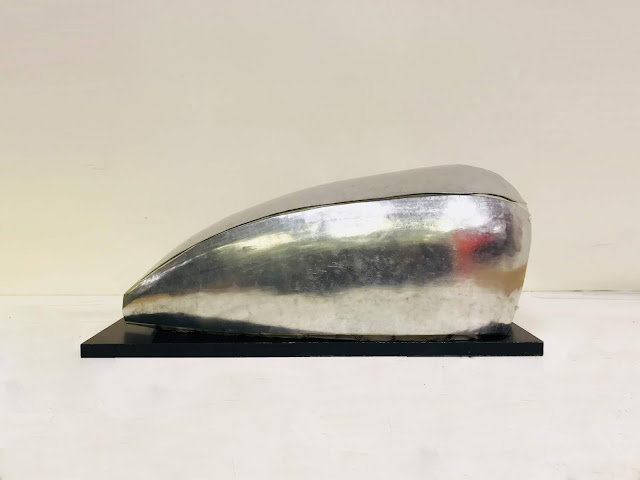


More Photo:


Since none of us has a motorbike. We decided to maximize the use of the tank by smashing it into trash... to let off our frustration😀😀😀😀😀
Finally! Take Photos:


More Photo:
 |
| Informal Instruction of Quick Sanding |


 |
| My (10 people) Group 👄 . |
Group Member:
Feimo Song. z5014267
Gengchen Yang z5036736
Jihui Chao z5057321
Tianshuo Liu z5108351
Yikai Chang z5108534
Comments
Post a Comment